List: Timeline & Notes
Navigating and utilizing the Timeline and Notes features in Diarly is a simple and intuitive process. This guide provides step-by-step instructions for accessing and making the most of these features, whether you're using Diarly on an iPad, Mac, or iPhone.
Understanding the timeline and notes
The Timeline and Notes features in Diarly offer unique ways to organize and view your journal entries. The Timeline arranges your entries chronologically, providing a linear view of your experiences and thoughts over time. Notes, on the other hand, are ideal for non-dated content such as ongoing projects or collections of ideas.
Accessing on iPad and Mac
- Open Diarly and click on the List icon in the sidebar.
- Your entries will appear in a list format in the sidebar.
- To switch views, use the Timeline and Notes icons, located at the top of the Journal View.
Accessing on iPhone
- Tap the Timeline icon in the Tab Bar.
- Your entries will be displayed in a timeline format.
- To switch between Timeline and Notes , use the icons located at the top of the Journal View.
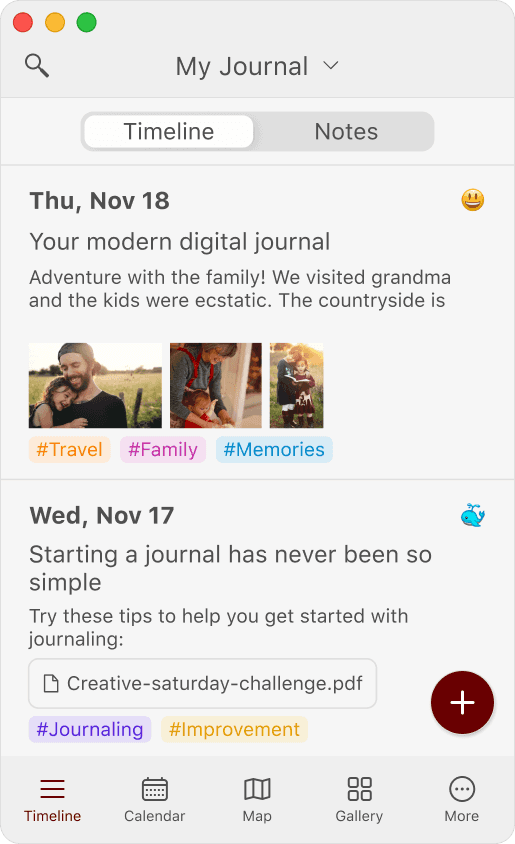
Exploring the Timeline
In the Timeline view, you'll find:
- Entries displayed with details such as attached images, tags, titles, text, tasks, and insights from the mood tracker.
- Options to customize your Timeline view, as outlined in the list view setup guide.
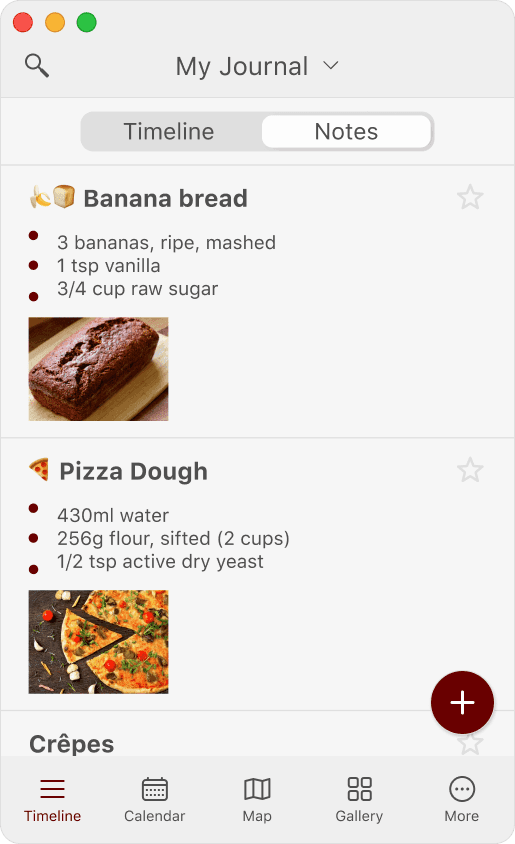
Utilizing the notes
Notes in Diarly are versatile, designed for content that doesn't require a specific date. Use Notes for:
- Tracking ongoing projects, recipes, study materials, and more.
- Storing collections of ideas, web clippings, affirmations, or brainstorming sessions.
💡 Tip: Have you found a creative use for notes in Diarly? Share your ideas on social media and inspire others. Your unique use cases help us improve and adapt Diarly to fit your needs.
Personalizing your timeline
Tailoring the timeline to your liking enhances your journaling experience. Discover more about customizing your timeline in our setting up the timeline guide.