Managing Journals
Organizing your entries into multiple journals in Diarly not only enhances your journaling experience but also helps in keeping different aspects of life, such as mindfulness, travel, work, and personal notes, neatly categorized.
This guide offers clear instructions for creating, managing, and switching between journals on both Mac and iOS platforms.
📚 Note: Multiple journals are only available to Diarly Premium users. With the free version of Diarly, you can access one journal, with unlimited entries.
Create a new journal
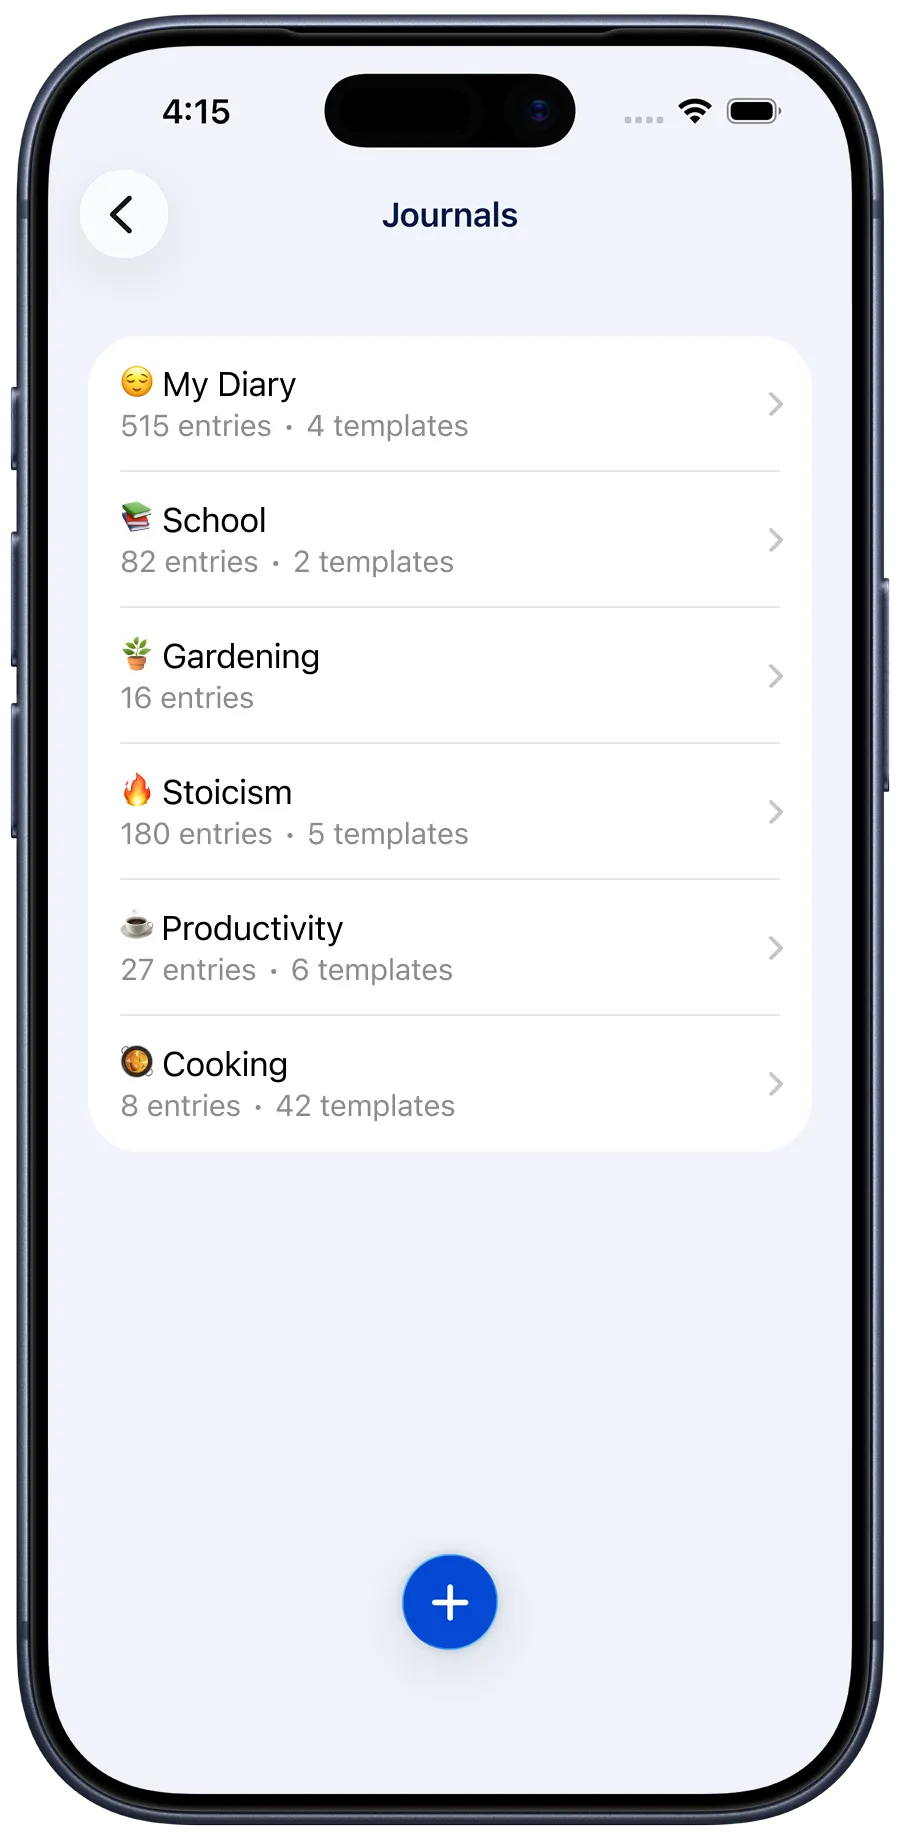
Go to the Settings and then Journals. Tap the add button at the bottom. Then, you can choose a name, icon, template, and goal for your new journal.
On Mac, you can also create a new journal from the Menu Bar, under Journals > Create New Journal.
Switch between journals
On Mac, tap the sidebar button to open the Sidebar if it’s closed. You will find your journals under Journals, below the search bar. You can also access journals via the Menu Bar, under Journals.
On iPhone, journals are available on the top bar. Long press the top bar to see all your journals at a glance.
Archive, merge, or delete a journal
Go to the Settings and then Journals. Select a journal. There, you can Archive, Merge, or Delete the journal.
Archived journals can be unarchived later. Deleted journals cannot be recovered.